Python is well-known for its large standard library which encompasses tools suitable for a variety of tasks.
Within this library lies the Pillow library. Pillow is a very useful library forked from the discontinued PIL - Python Image Library.
In this post, I'm going to use Pillow to do some standard image processing. This is going to be a basic introduction to image processing. I will do some advanced image manipulation in subsequent posts.
Let's start with the image class. I'm use this class to load, process or create a new image from scratch. I'll start by importing the Image library:
from PIL import Image
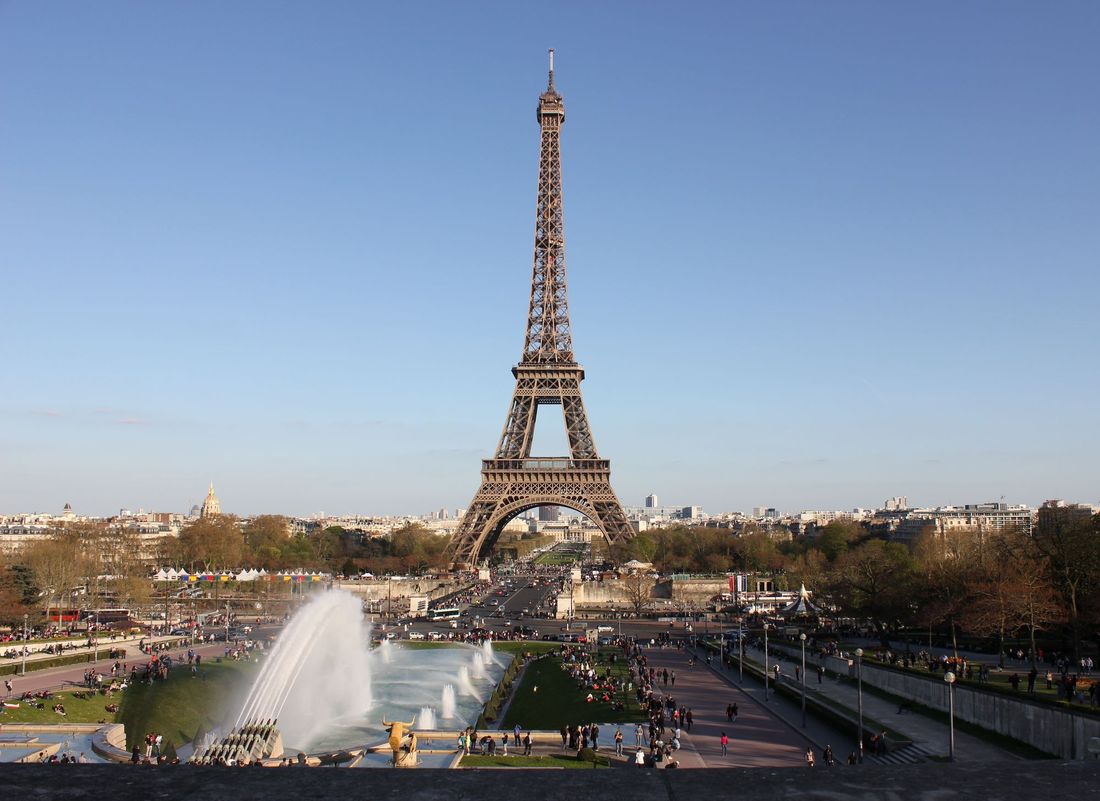
I'm working with an image I took in Paris earlier this year. Using the Image module, I'll open my paris.jpg image with the open() method:
im = Image.open('paris.jpg')
With this image object, I can use the instance attributes to return the size of my image and its format:
print im.format, im.size
Results:JPEG (4743, 3456)
My image is a JPG format and is 4743 wide and 3456 in height.
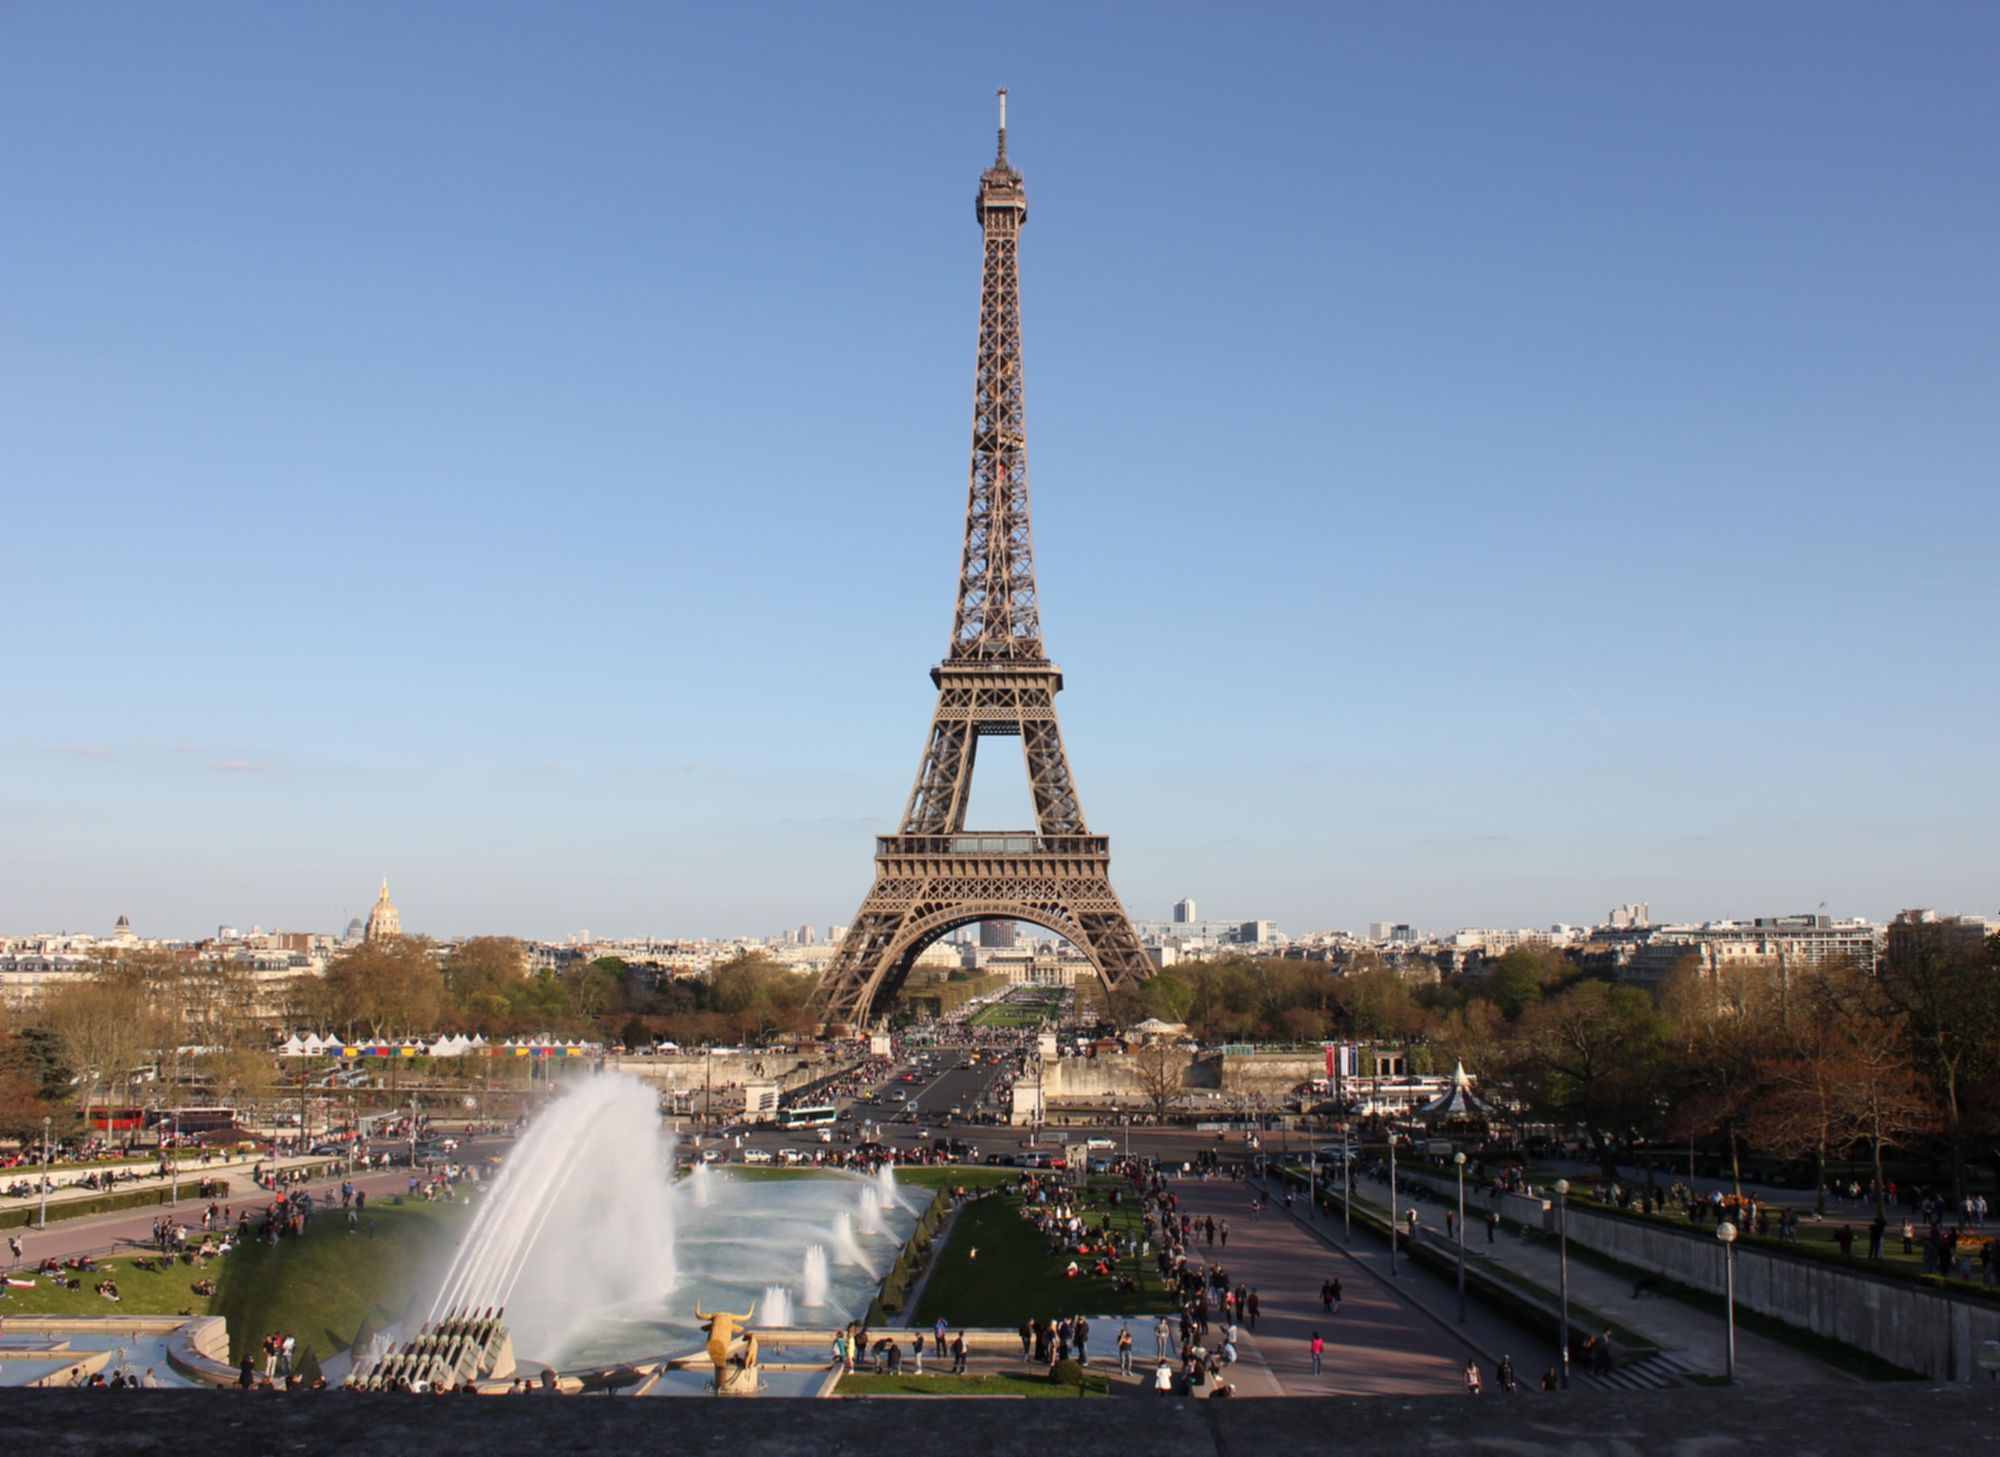
This is the original size of the image from my camera. It's pretty larger. So I'm going to scale it down to a medium size:
medium = im.resize((1184, 890))
I'm using the resize method to reduce the size of the image to 1184x890.
I can use the show method to display this newly scaled image:
medium.show()
I'm going to use the rotate method to flip my image upside down:
im.rotate(180).show()
My original image is great, but I want to play around with some filters. Let's see what I can achieve with the ImageFilter module. I'm going to import it first.
from PIL import ImageFilter
Now, let's add a blur to this image.
im1 = im.filter(ImageFilter.BLUR).show()
Result:
What if I added a contour filter?
im2 = im.filter(ImageFilter.CONTOUR).show()
Result:
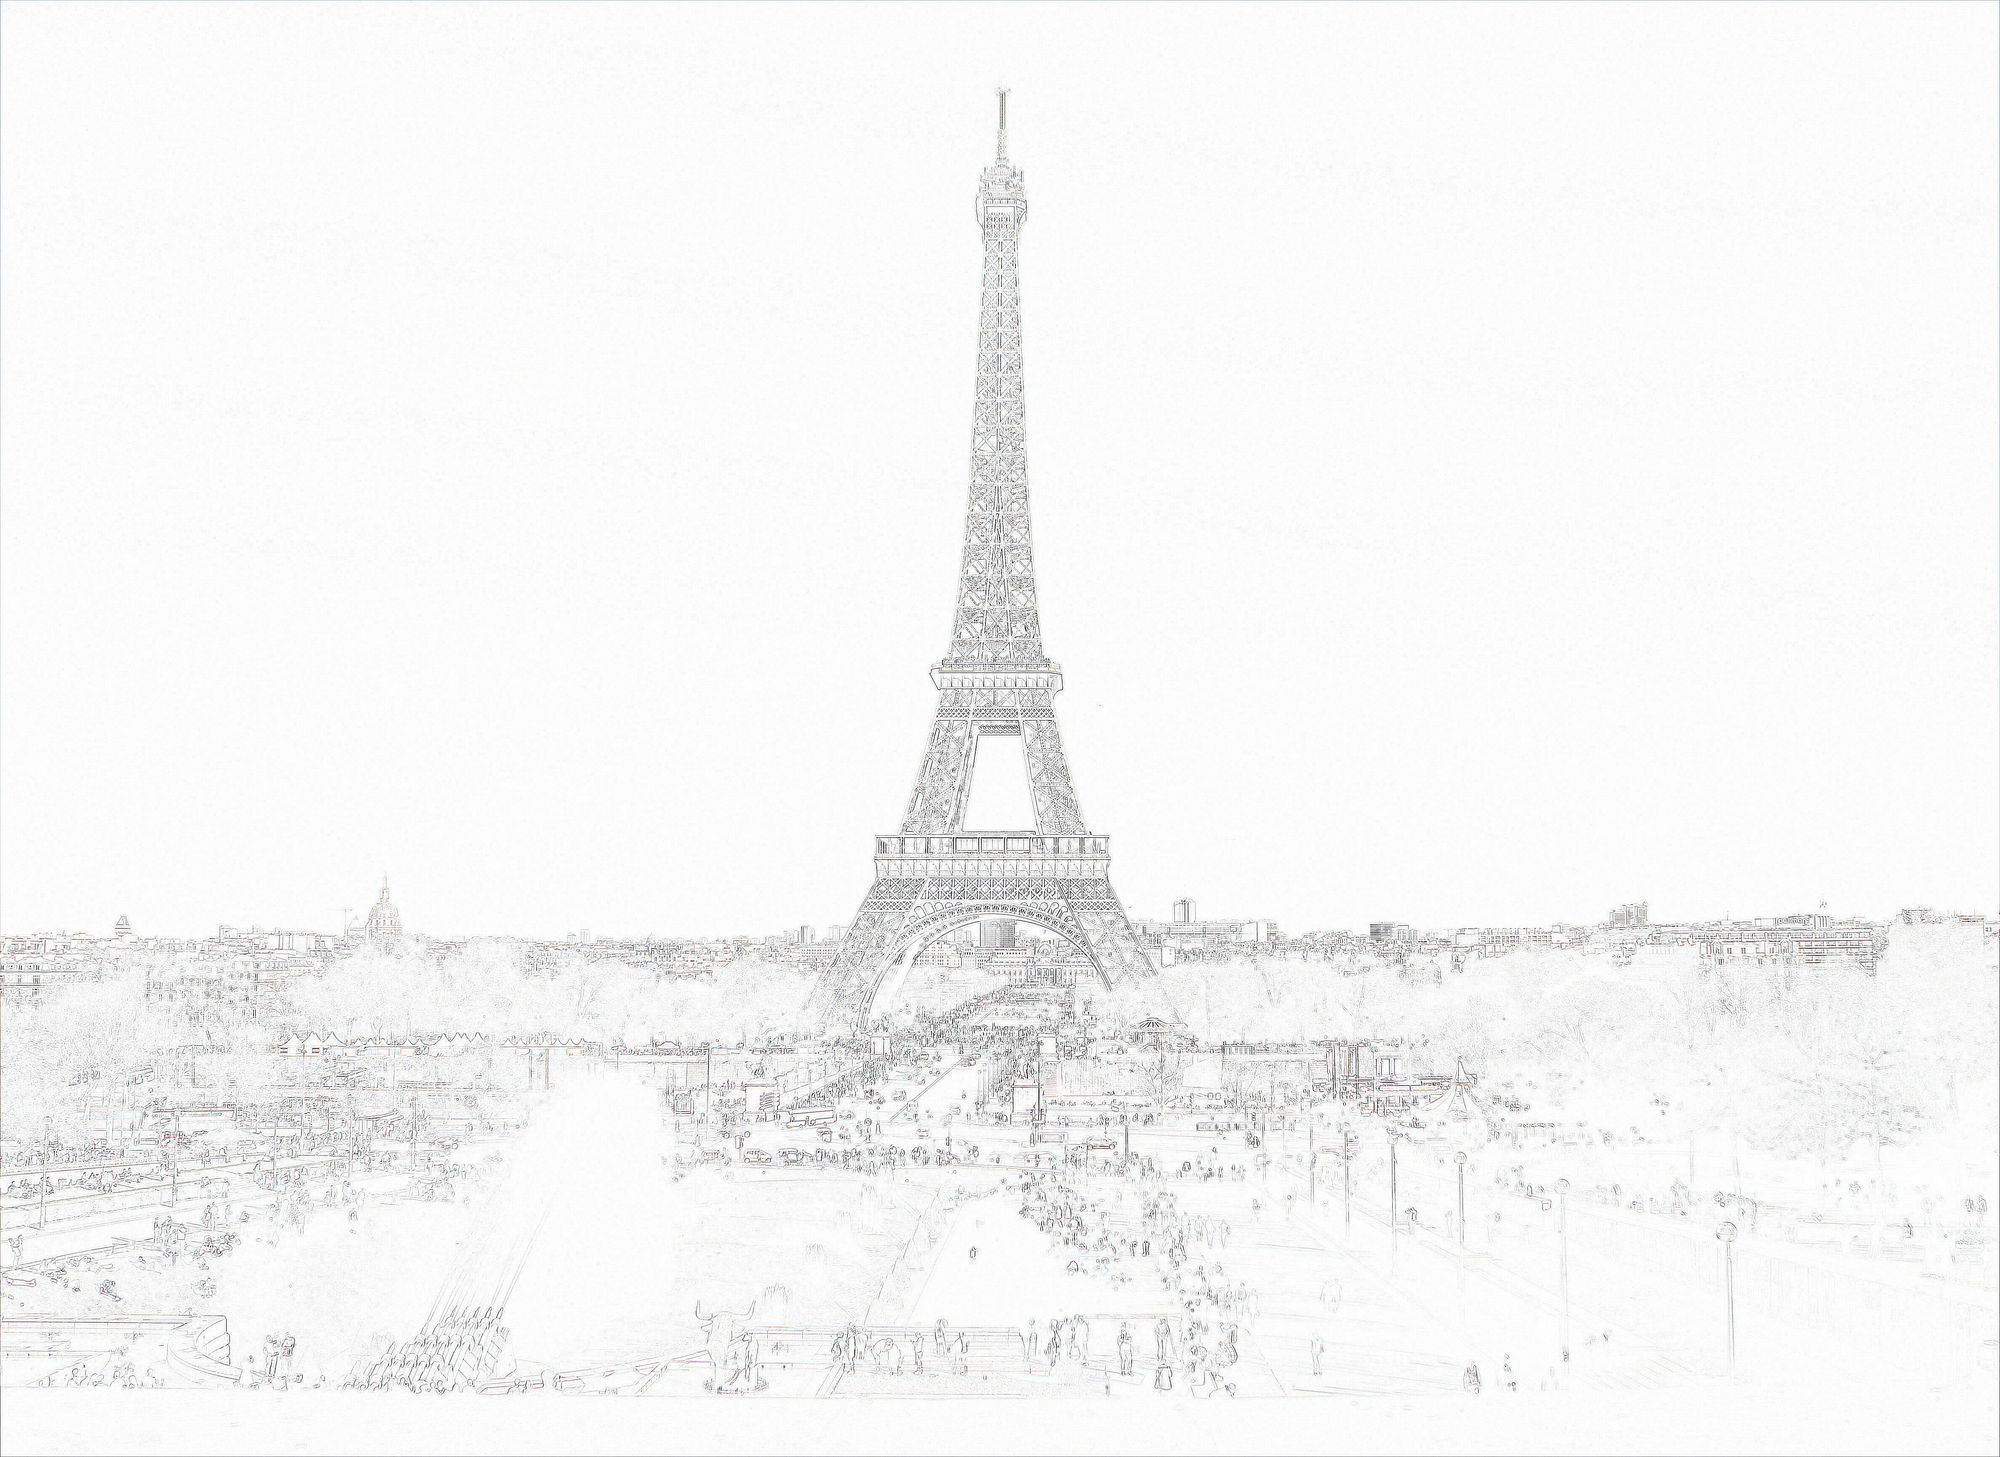
The main thing you look at when see this image is the Eiffel Tower in the centre of the image. Let's say I want to crop away most of the edges of the image to isolate the "piece de resistance".
rect = (1500, 150, 3200, 3000)
area = im.crop(rect).show()
I'm using a tuple to select an area of the image. I define the four coordinates - left, upper, right, lower and the output image will be scaled down with the Eiffel Tower still in the centre.
I can add some text on top of this image to make it look like a postcard. To achieve that, I'll need to import the ImageDraw and ImageFont modules.
from PIL import Image, ImageDraw, ImageFont
Now, I'm going to add a welcome message on the image.
font = ImageFont.truetype("Arial.ttf", 50)
draw = ImageDraw.Draw(medium)
draw.text((30, 30), "BIENVENUE A PARIS", (255, 255, 255), font=font)
On the first line, I'm using the ImageFont module to load the font and the font size. If I wanted to use another font from my Operating System, I'd replace "Arial.ttf" with the path to that font file.
The ImageDraw module provides basic 2D graphics for the Image object.
The last line draws the text onto the image. I've defined the X and Y coordinates (30, 30) of the text then entered the text that will be displayed between quotes and finally defined the RGB colour values (255, 255, 255) - which will produce the colour white.
Let's save a copy of this image with the save method.
medium.save("bienvenue.jpg")
I now have a new copy of the Paris image saved as bienvenue.jpg in my folder. The text "Bienvenue a Paris" will be printed on the final image
This is cool. I can read an image, do some basic manipulation and save the image. But I feel like Python is far too powerful and I should be able to do some extra cool stuff on this image. In the next posts, I will use some scientific and graphics libraries to do some slightly advanced image processing and handling.
Lastly, there are several other Pillow modules I didn't cover in this post. I encourage you to check out the Documentation here.